
PETG troubleshooting & sample approval
PETG Stringing: Moisture, Temperature & Retraction Checks
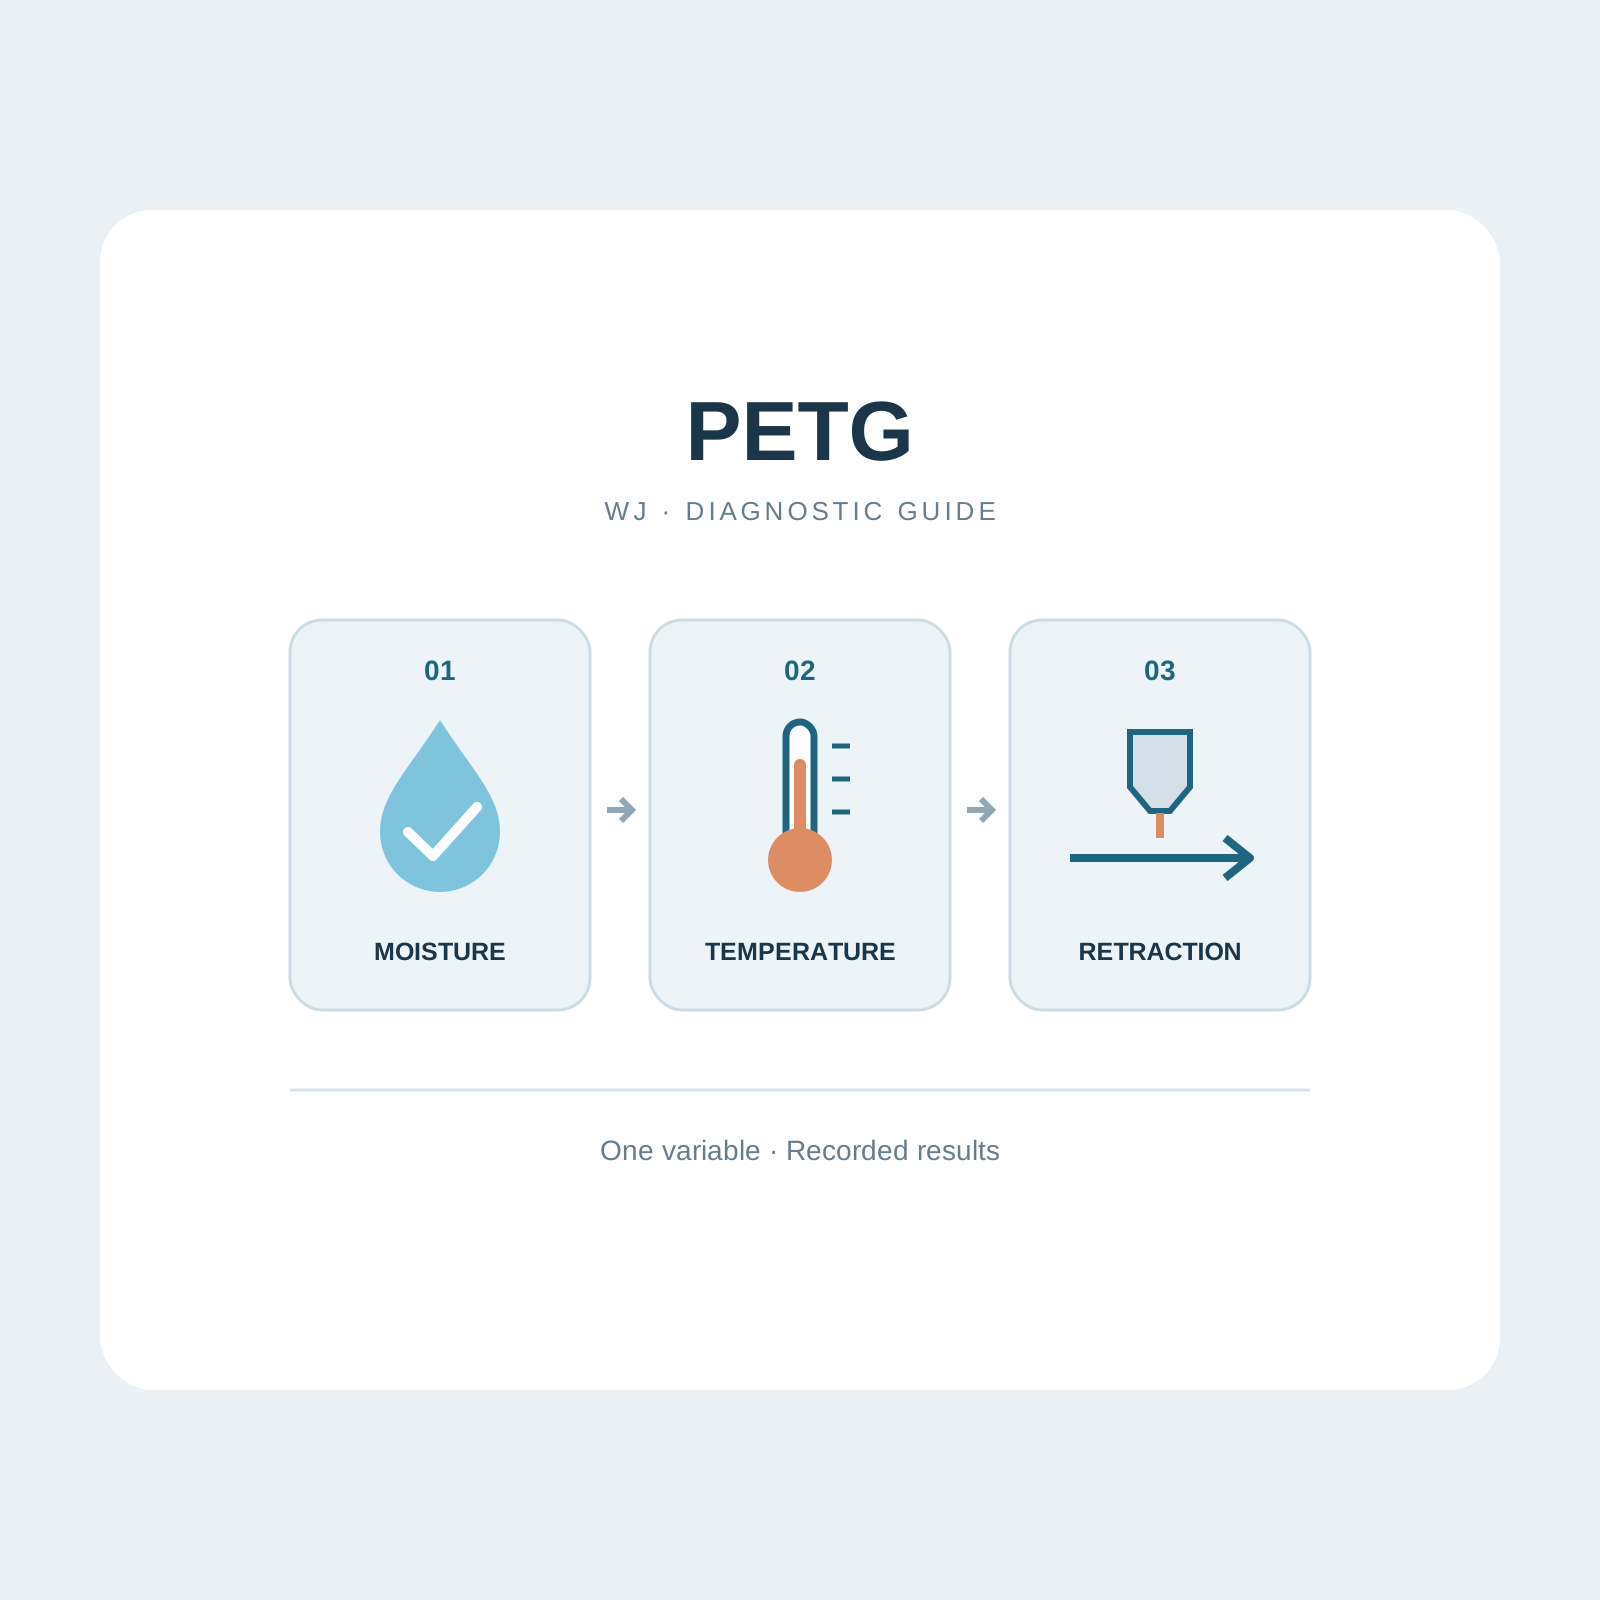
Fine threads between PETG parts can come from more than one cause. Changing several slicer settings at once makes the next spool harder to evaluate. This WJ guide separates material handling, extrusion temperature and travel/retraction checks, then turns a small test print into a useful sample-approval record for repeat orders.
Quick answer for buyers
To investigate PETG stringing, identify the exact grade, inspect the nozzle and review how the spool was stored. Evaluate grade-specific drying, then test temperature and printer-specific retraction with one variable changed at a time. WJ PETG Basic publishes reference processing guidance, not a batch-specific cure or proof of moisture content. Keep the printer, geometry, color and test conditions in the record, then confirm the sample and purchase specification with WJ.
1. Confirm what you are testing
Start with the grade, color and batch reference, opening date, storage history and current slicer profile. Keep a failed example and a photo before altering the setup. A single hair between two towers and widespread rough extrusion are different observations; neither proves that a shipment is defective.
Inspect the hot nozzle using the printer manufacturer’s safe cleaning procedure. Check the nozzle condition, feeding path and extrusion consistency before attributing every mark to retraction. A known-good spool on the same printer is a useful comparison, but it is not an independent material test.
2. Use the symptom to choose the next check
The matrix gives investigation routes rather than confirmed causes. Compare the same small geometry under the same conditions and record both appearance and extrusion quality. Do not hide a weak or under-extruded part simply by reducing visible strings.
| Observation | Check next | Keep in mind |
|---|---|---|
| Strings plus popping, bubbles or rough extrusion | Review exposure history; evaluate the exact grade’s drying procedure | These signs are not a moisture measurement |
| Mostly clean walls, threads during travel | Inspect nozzle residue and the temperature/profile; then examine retraction | Hardware and toolpath can change the result |
| Strings plus gaps or irregular delivery | Check feeding, nozzle condition and flow demand | Do not keep increasing retraction |
| One color or lot differs from the reference | Repeat a matched test and retain spool/lot records | A color change does not by itself prove a formulation fault |
3. Separate drying before printing from re-drying
The entries below are from WJ-TDS-PETGBASIC-001, V1.0, issued August 1, 2026. They apply to PETG Basic, not every PETG blend, color or filled grade. Confirm the current document, dryer capability and spool temperature limit before treatment. A passive drybox helps protect a spool during use; it does not verify that absorbed moisture has been removed.
The TDS lists an initial drying entry and a separate re-drying window in the handling section. They describe different contexts; do not combine them into a universal recipe or promise that any drying cycle will eliminate strings. These are supplier reference instructions, not an independent drying trial or a batch certificate.
| TDS entry | Published reference | Use in diagnosis |
|---|---|---|
| Drying before printing | 65°C · 8 h | Check applicability and spool/dryer limits |
| Re-drying in handling guidance | 60–65°C · 6–8 h | Confirm the routine for the exposed spool |
| Nozzle temperature | 230–250°C | Starting window; validate the exact setup |
| Bed temperature | 70–80°C | Control first-layer conditions across tests |
| Storage before use | 15–25°C · below 50% RH · sealed | Storage guidance, not measured polymer moisture |
4. Check temperature and delivery before chasing retraction
Prusa’s troubleshooting guidance includes nozzle cleanliness, temperature and profile checks. Use that as general context rather than evidence about WJ filament. With the spool condition controlled, test a small temperature comparison within the exact grade’s permitted window. Keep nozzle, speed, flow demand, layer height and cooling unchanged.
Lower temperature can reduce oozing in some setups, but it can also impair melting, extrusion and layer bonding. Judge strings together with gaps, surface and part integrity. Stay within the hotend and material instructions; record the actual test setting instead of publishing one ideal temperature for all printers.
5. Tune retraction for the actual printer
Start from the printer or slicer manufacturer’s compatible profile. Direct-drive and Bowden systems do not share a universal retraction distance. Change either distance or speed in a controlled comparison and retain the rest of the profile. Follow hardware limits rather than importing a value from another extruder.
Also inspect travel path, pressure behavior and cooling in the context of the selected printer. Prusa describes cooling as relevant to PETG detail and oozing; this does not mean maximum fan is correct for every part. If new gaps or feeding problems appear, stop and revisit the changed setting rather than increasing retraction again.
6. Keep a single-variable test log
Use the same two-feature test geometry and keep the original profile as a reference. Repeat a promising change before accepting it; then print a representative customer part. The table is a blank recording structure, not a WJ experimental result. Count or photograph defects consistently and keep failed results as well as the best sample.
| Record | What to retain |
|---|---|
| Spool identity | Grade, color, lot, opening date and exposure history |
| Conditioning | Drying routine, equipment and time since treatment |
| Fixed setup | Printer/hotend, nozzle, geometry, layer, line width, speed and cooling |
| One changed variable | Original value, new value and profile version |
| Result and decision | Strings, gaps, photos, repeat test and agreed sample acceptance |
7. Turn the sample into an order specification
For an OEM trial, send WJ the exact material and color, printer, nozzle, profile, photos and the test history. State the part’s appearance and functional requirements separately. Agree how a reference sample is stored and how recurring lots will be checked; an attractive spool or a short video does not establish print performance.
Keep packaging, desiccant, spool format, label/batch identification and destination in the inquiry. If the problem persists, retain the spool and control sample and ask for a joint review of processing and batch documents. MOQ, timing and documentation must be confirmed for the project rather than inferred from this guide.
8. What this guide establishes
This is a WJ-authored diagnostic method using published grade guidance and general printer-manufacturer references. No new moisture measurement, stringing experiment, batch pass rate or universal retraction value is presented. Verify the chosen profile on your printer and representative part before approving regular production. Nozzle sounds or visible strings are not proof of absorbed moisture.
Procurement notes
| Spool and symptom | PETG grade/color/lot, exposure history and clear defect photos. |
|---|---|
| Printer and test | Nozzle, profile, controlled change and repeat-test record. |
| Acceptance | Approved sample, appearance/function and recurring-lot checks. |
| OEM order | Quantity, spool, label, packaging, destination and required documents. |