PLA/PETG Support Interfaces: Removal Tests & Limits
PLA/PETG Support Interfaces: Removal Tests & Limits
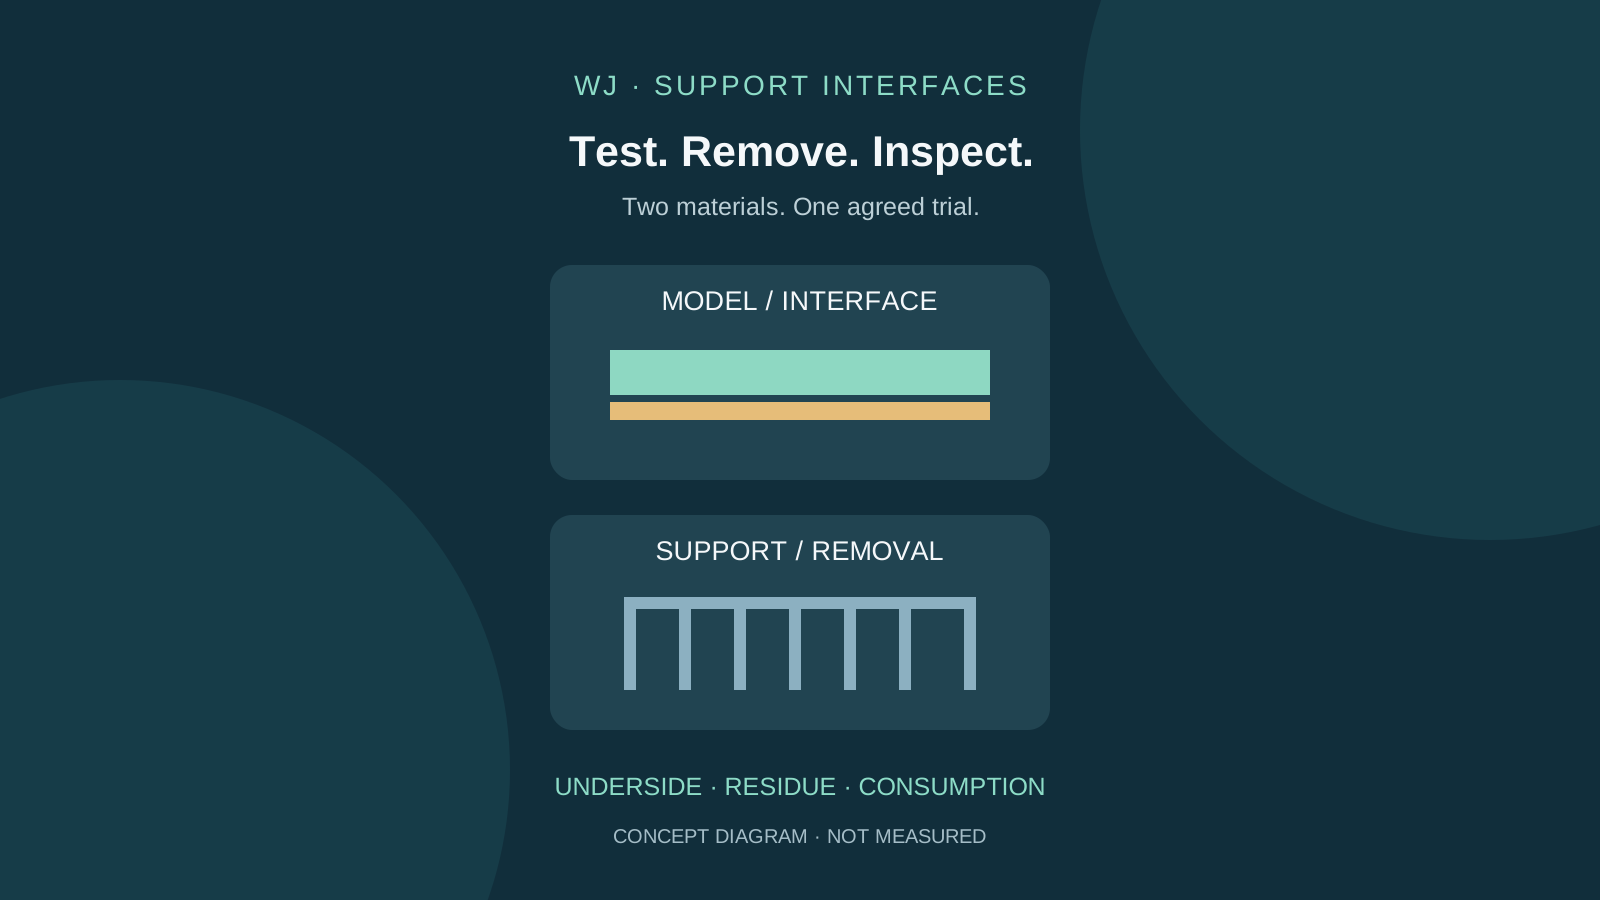
The interface is the contact region between support and model. Using another material only there can reduce changes compared with making the whole support from it; verify the sliced job. PLA/PETG separation is not water solubility or a structural bond. Prusa documents combinations for its XL workflow, not a universal recipe or a WJ test.
Quick answer for buyers
WJ 3D Printer Filament Factory. Start by identifying the model material and interface material separately: exact WJ grade, color, lot and applicable processing document. PLA Basic and PETG Basic references are starting points, not proof that every combination works. Do not substitute silk, filled, high-flow or other modified grades without another evaluation. Respect the printer, nozzle, bed surface and conditioning limits of both materials; confirm a supported workflow rather than averaging temperature ranges. Send WJ the two grade/SKU names, machine/tool system, model revision, profile, sample record and physical acceptance reference, plus quantity, spool and packaging requirements. Reconfirm affected tests when either material, color, tool system, geometry or profile changes. No new WJ removal-force, strength, yield or compatibility result is claimed.
1. Separate support roles
The interface is the contact region between support and model. Using another material only there can reduce changes compared with making the whole support from it; verify the sliced job. PLA/PETG separation is not water solubility or a structural bond. Prusa documents combinations for its XL workflow, not a universal recipe or a WJ test.
2. Check your hardware first
For a shared nozzle, qualify material transitions and residual polymer removal before judging the finished part. A clean-looking color change does not prove the structural material is uncontaminated. With independent tools, verify offsets, ooze, inactive-tool behavior and interface placement. For a single-material machine, compare reorientation or splitting the model first. Both grades and spools must be supported by the actual feeding system.
3. Choose exact WJ grades
Start by identifying the model material and interface material separately: exact WJ grade, color, lot and applicable processing document. PLA Basic and PETG Basic references are starting points, not proof that every combination works. Do not substitute silk, filled, high-flow or other modified grades without another evaluation. Respect the printer, nozzle, bed surface and conditioning limits of both materials; confirm a supported workflow rather than averaging temperature ranges.
4. Run a representative underside coupon
Use a small underside, overhang or pocket representing the real part. Save a same-material support baseline. Change only the interface assignment initially, with a documented machine-approved profile; inspect the sliced toolpaths before printing. Then vary one setting at a time if needed. Record any linked changes. Do not copy a universal zero-gap, interface-layer count or flushing amount.
5. Inspect before and after removal
Keep specimen identity and removal method consistent. After cooling according to the equipment instructions, document effort, accessible trapped support, surface damage and remaining material. Keep hands away from sharp edges and follow tool instructions. Inspect a representative functional sample as well: easy separation does not establish layer integrity or service performance. Record unsuccessful attempts, not only the best photograph.
| Check | Record |
|---|---|
| Underside | Photos, texture and damage |
| Removal | Method, effort, trapped supports |
| Residue | Visible residue and transition coupon |
| Consumption | Model/support/interface/purge/failures |
| Function | Representative test and agreed acceptance |
6. Compare total consumption
Record model, support body, interface, wipe tower and flushing material separately where the slicer provides them. Include failed attempts and elapsed machine time. Compare consumption per accepted part. Do not claim a saving from interface-only assignment until the actual change count and total material confirm it.
7. Agree approval and change control
Send WJ the two grade/SKU names, machine/tool system, model revision, profile, sample record and physical acceptance reference, plus quantity, spool and packaging requirements. Reconfirm affected tests when either material, color, tool system, geometry or profile changes. No new WJ removal-force, strength, yield or compatibility result is claimed.
Procurement notes
| SKU | WJ PLA / PETG · SKU / color / lot |
|---|---|
| Profile | Printer / tools / model / profile |